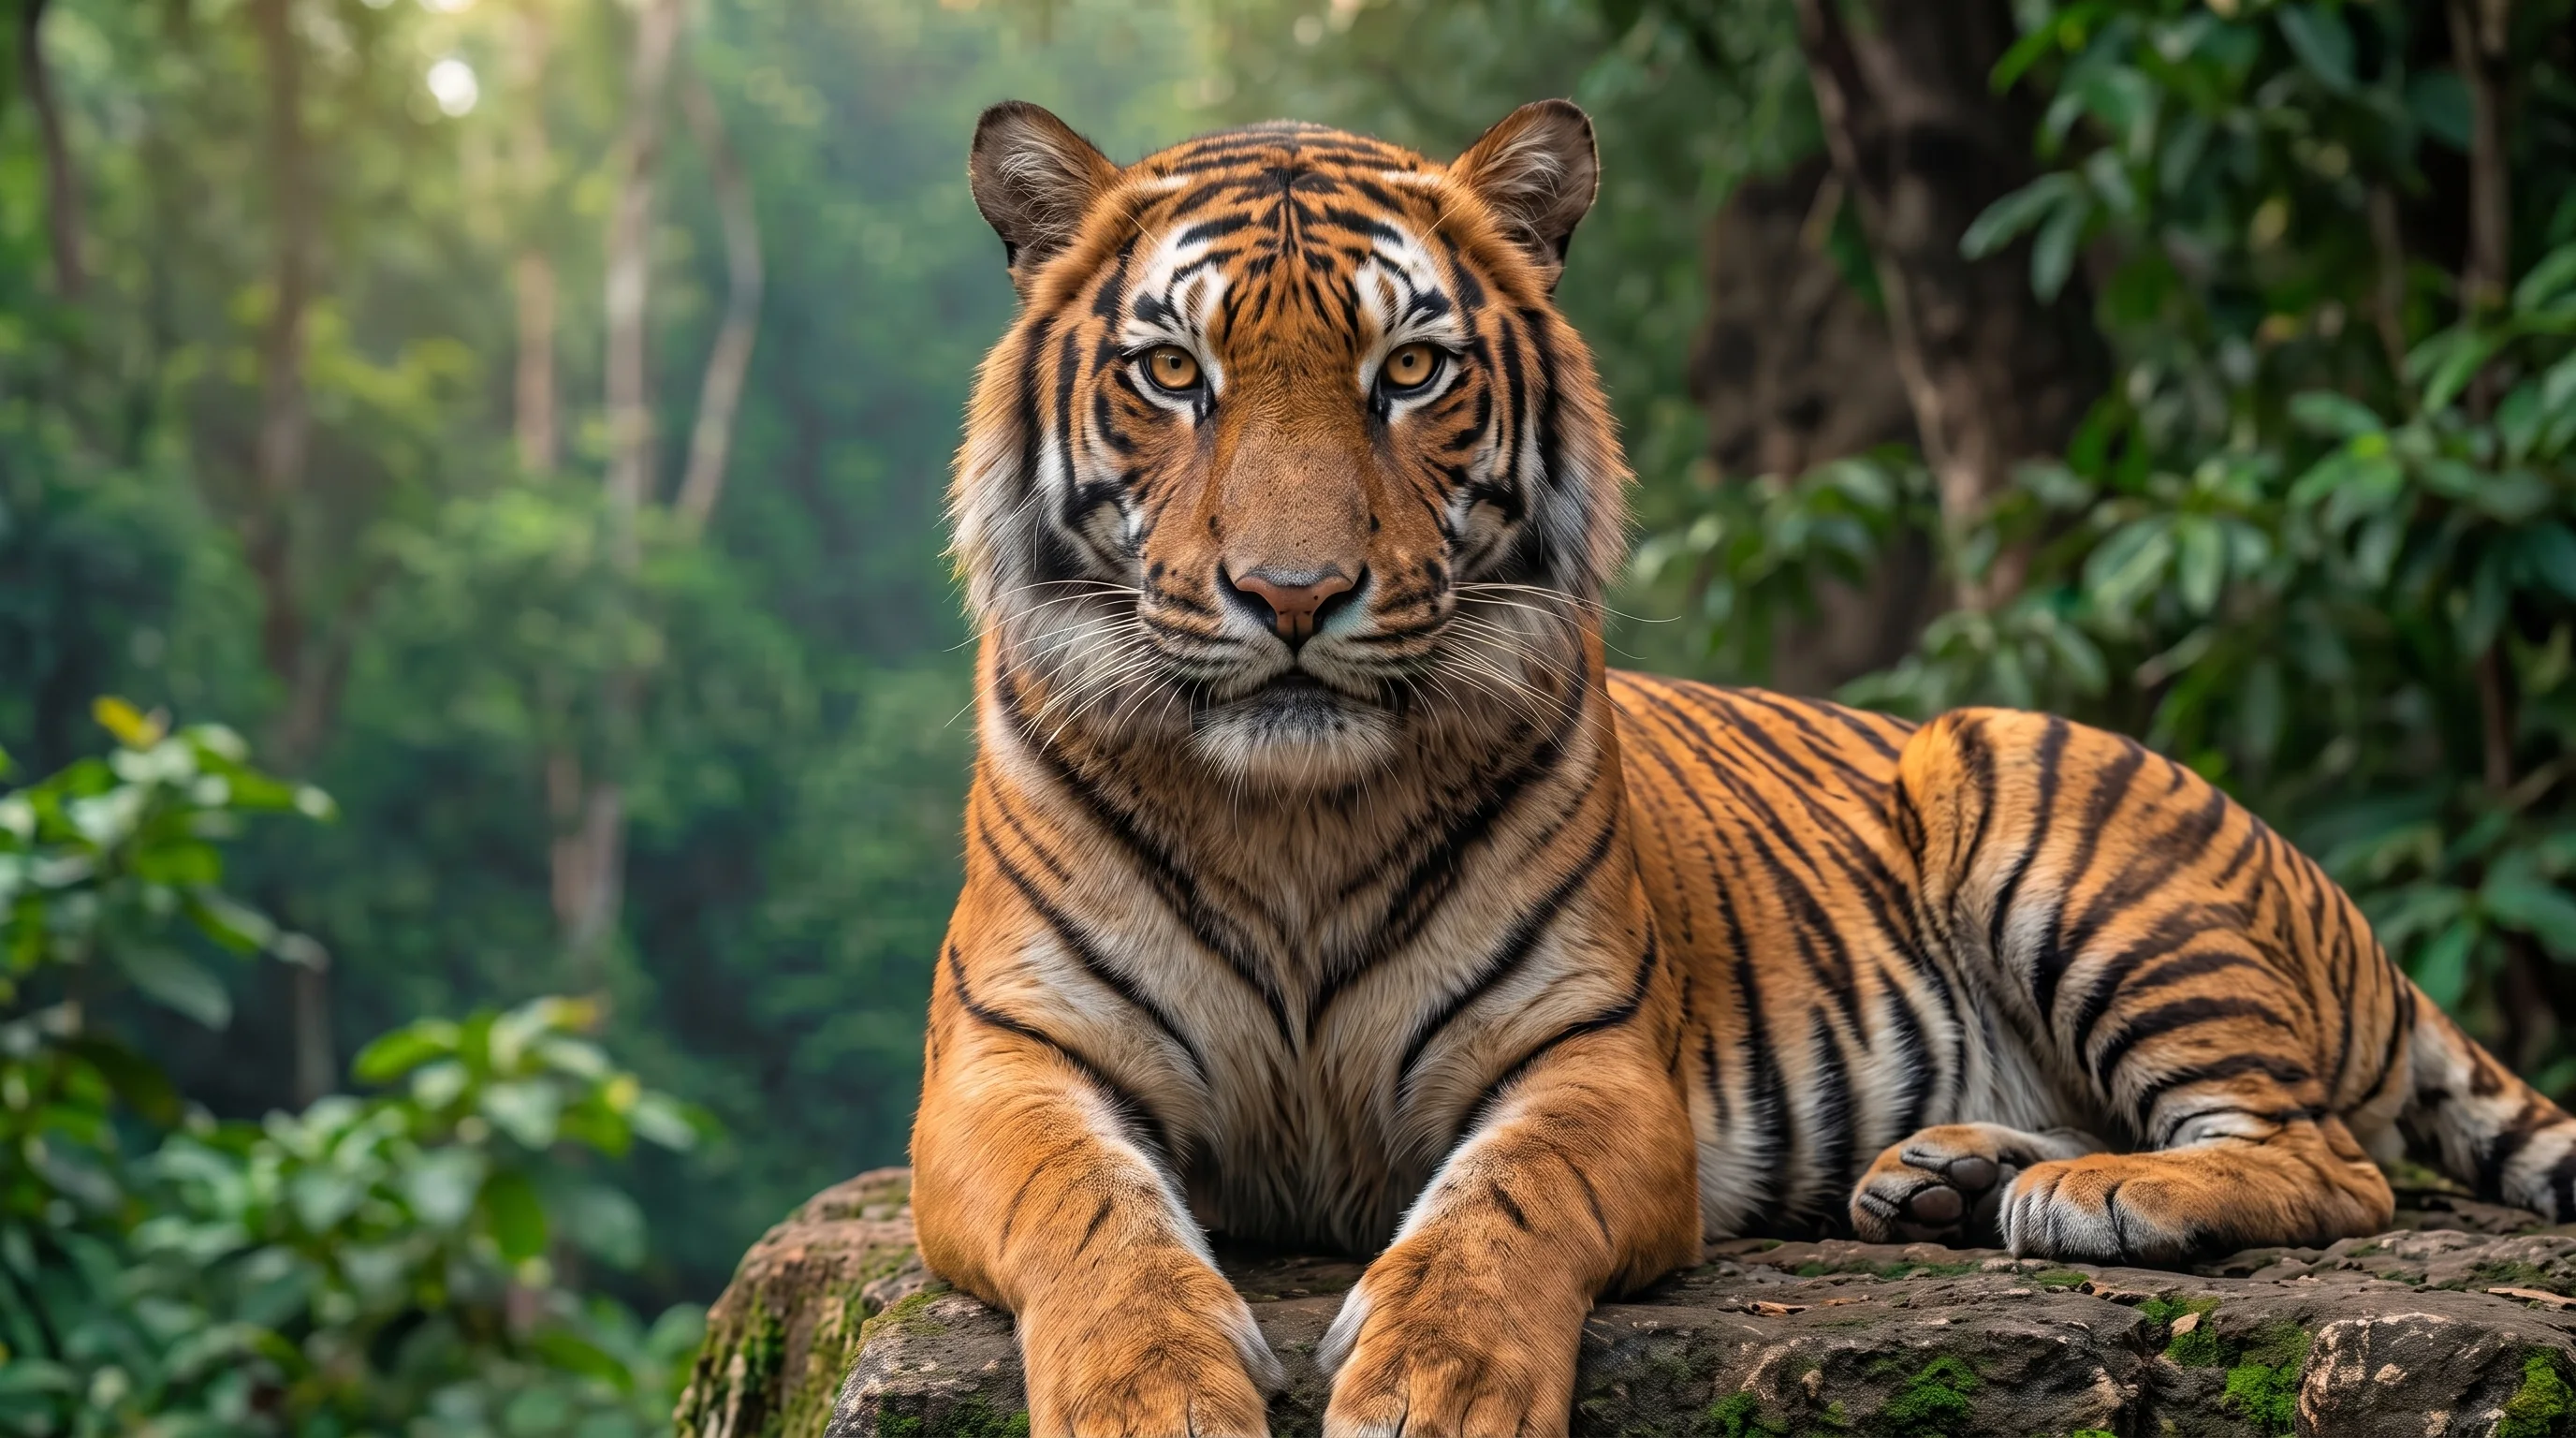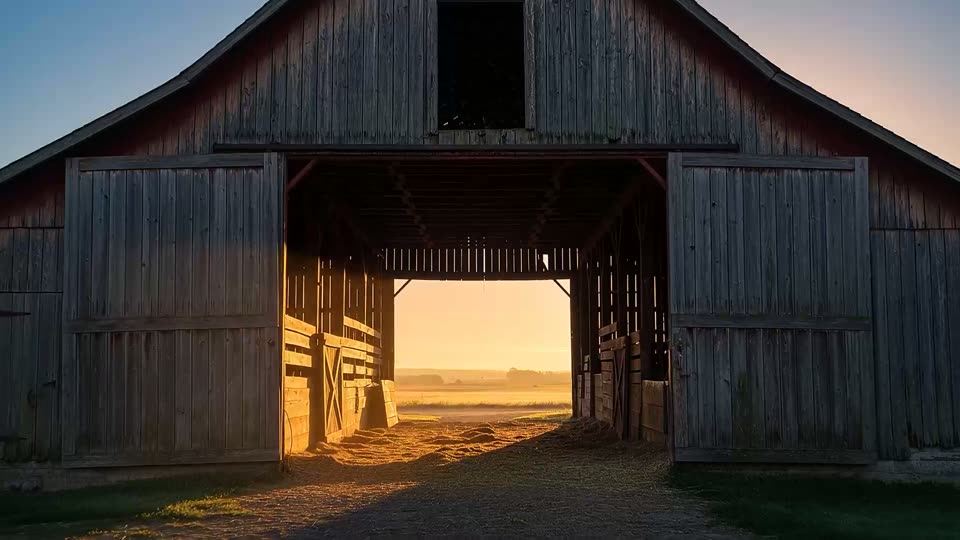
The first frame establishes the starting scene, while the last frame helps define its final state. These guide the generated movement; consistency of every intermediate detail is not guaranteed. Choose a model whose interface provides both frame inputs.
Prepare compatible frames
- Use the same aspect ratio and compatible framing.
- Check character appearance, object placement, light direction and the main colors in both images.
- Choose a clear change between the beginning and end: a turn, a camera move or one character action. Very different scenes make the transition harder.
Describe movement in the video workspace
Open image-to-video generation for a model that supports first and last frames. Upload the images into the corresponding fields and check their order. Describe the movement between the two states rather than only the image contents. Choose duration and aspect ratio from the model's available settings and check the price before starting.
The camera slowly moves closer to the character. They turn toward the window, matching the final frame. Preserve the clothing, objects in the room and soft morning light.
Review the middle of the transition
Watch the middle of the clip as well as its beginning and end. Check changes in faces, object shapes, backgrounds and camera movement. If the transition feels random, reduce the number of actions or prepare more closely matched compositions. Two-frame support and available settings depend on the selected model.